
Wasp nests can become dangerous quickly, especially during the warmer months when colonies grow larger and more aggressive. Knowing the best time to spray a wasp nest is essential for both safety and effectiveness. Spraying at the wrong time may provoke the wasps, increasing the risk of painful stings and incomplete nest removal. This guide explains when to spray, what equipment to use, and the safest step-by-step method for handling wasp nests around your home, garage, garden, or roofline while minimizing risks to yourself and others.
Understanding Wasp Activity Patterns
Wasp behavior changes throughout the day and across different seasons. Knowing when wasps are least active can help you safely treat a nest without triggering aggressive swarming. Environmental factors like temperature, sunlight, and colony size all influence their activity, making timing one of the most important parts of successful wasp nest removal.
Daily Wasp Behavior
- Wasps are most active during warm daylight hours
- Early morning and late evening are usually the safest spraying times
- Cooler temperatures slow down wasp movement and aggression
Seasonal Wasp Activity
- Spring nests are smaller and easier to eliminate
- Summer colonies contain more workers and are highly defensive
- Fall colonies begin declining, but wasps may still sting aggressively
Why Timing Matters When Spraying a Wasp Nest

Choosing the correct time greatly improves your chances of killing the colony while avoiding attacks. Spraying when most wasps are inside the nest increases effectiveness because the insecticide reaches more insects at once. Poor timing often leads to surviving wasps rebuilding or becoming defensive toward nearby people and pets.
Reduced Risk of Stings
When temperatures drop during early morning or evening, wasps become slower and less likely to swarm. This gives you a safer window to approach the nest and apply insecticide from a controlled distance. Fewer active wasps outside the nest also means fewer insects returning later and escaping treatment.
Better Spray Effectiveness
Most wasps return to the nest at night. Spraying during this period allows the insecticide to contact the entire colony instead of only a few worker wasps. This increases the chances of eliminating the queen and preventing future nest activity around your property.
Safety Precautions Before Spraying
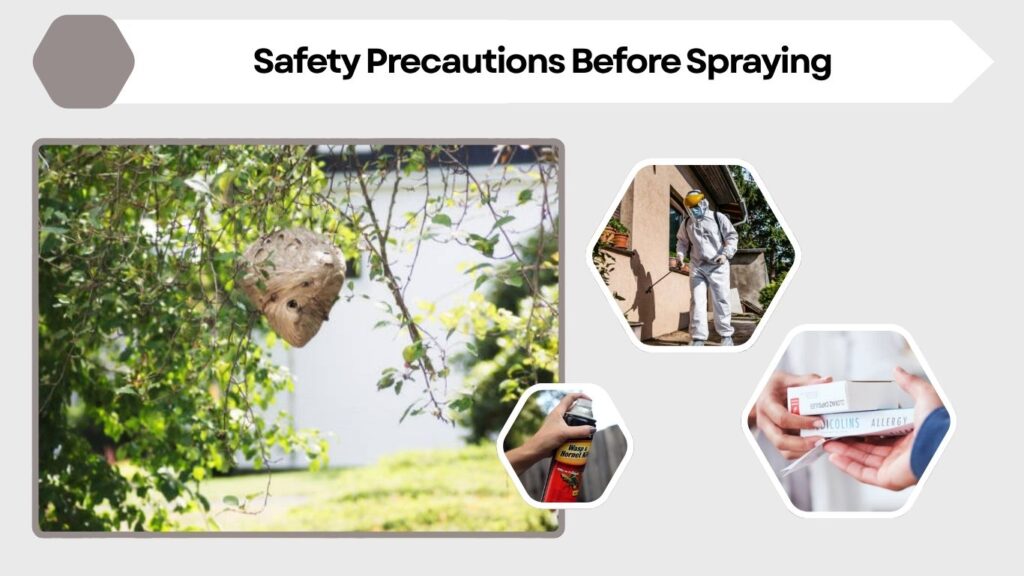
Proper preparation is essential before approaching any wasp nest. Even small colonies can become dangerous if disturbed unexpectedly. Wearing the correct protective gear and planning your escape route can help prevent injuries and panic if the wasps react aggressively during treatment.
Protective Clothing
- Wear long sleeves and thick pants
- Use gloves, boots, and eye protection
- Cover exposed skin as much as possible
- Consider a face shield for large nests
Emergency Planning
- Keep children and pets indoors
- Identify a clear escape route before spraying
- Have allergy medication available if needed
- Avoid spraying alone if allergic to stings
Best Weather Conditions for Spraying
Weather conditions affect both wasp activity and insecticide performance. Calm weather allows spray products to hit the nest accurately, while wind and rain can reduce effectiveness or spread chemicals in unwanted directions. Checking the forecast before treatment improves safety and results.
Ideal Weather Conditions
- Cool temperatures in the morning or evening
- Dry weather with no rain expected
- Low wind speeds for accurate spraying
Conditions to Avoid
- Hot sunny afternoons
- Rainy or stormy weather
- Strong winds that blow spray away from the nest
Tools and Products Needed
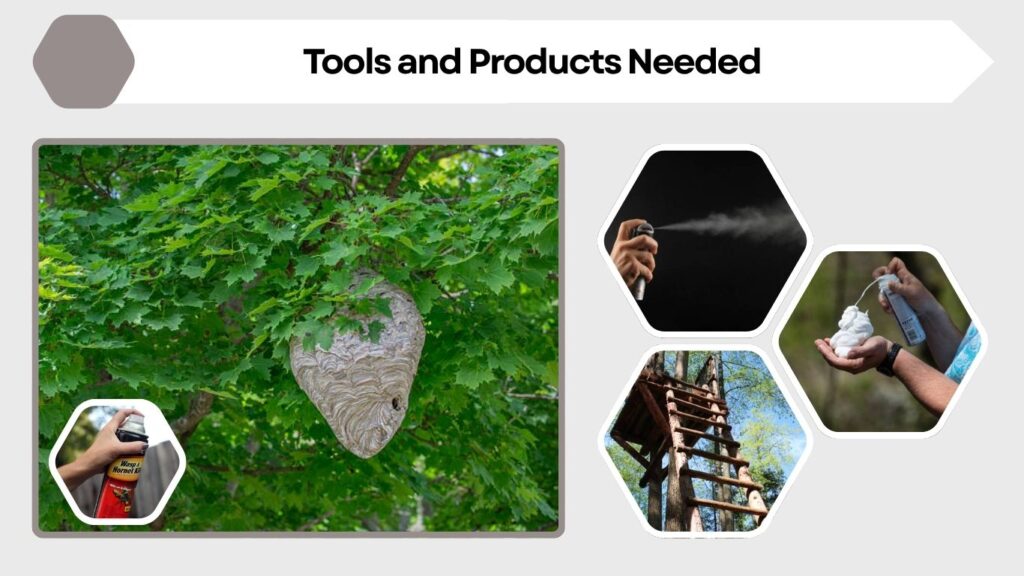
Using the right equipment makes wasp nest treatment safer and more effective. Long-range sprays allow you to stay farther away from the nest, reducing the risk of stings. Protective equipment and lighting also help you maintain visibility and control during the spraying process.
Recommended Wasp Sprays
- Long-range aerosol wasp sprays
- Foaming insecticides for hidden nests
- Dust insecticides for wall voids or underground nests
Helpful Equipment
- Flashlight with red filter for nighttime visibility
- Ladder for elevated nests
- Thick garbage bag for nest disposal
- Protective gloves and face covering
Step-by-Step Guide to Spraying a Wasp Nest
Removing a wasp nest safely requires patience and careful preparation. Rushing the process or disturbing the nest too early can make the wasps highly aggressive. Following a step-by-step approach helps reduce risk while improving the chances of complete colony elimination.
Step 1 – Locate the Nest
Watch wasp activity from a safe distance during the day to identify the exact nest location. Look for entry points near roof eaves, wall gaps, trees, sheds, or underground openings. Avoid standing too close or making sudden movements that may disturb the colony.
Step 2 – Wait for the Right Time
The safest time to spray is usually after sunset or before sunrise. At these times, most wasps are inside the nest and less active due to cooler temperatures. Calm weather without strong wind also improves spray accuracy and safety.
Step 3 – Put on Protective Gear
Before approaching the nest, fully cover your body with protective clothing. Make sure sleeves, gloves, and pant legs are secure to prevent wasps from getting inside your clothing. Keep your flashlight and spray within easy reach before moving closer.
Step 4 – Spray the Nest Carefully
Once you are within spraying range, aim directly at the nest entrance and apply the insecticide steadily. Most wasp sprays are designed to shoot several feet, allowing you to maintain a safer distance. Saturate the nest thoroughly so the chemical reaches the workers and queen inside.
Proper Spraying Technique
- Stand as far away as the spray allows
- Aim at the nest opening first
- Spray continuously for several seconds
- Avoid shining bright light directly at the nest
What to Do After Spraying
- Leave the area immediately after treatment
- Do not swat at flying wasps
- Stay indoors for at least 30 minutes
- Monitor the nest from a safe distance afterward
Checking the Nest After Treatment
After spraying, you should wait before approaching the nest again. Some wasps may survive the initial treatment, especially in large colonies. Observing the nest over the next one to two days helps confirm whether additional spraying is necessary before removal.
Signs the Treatment Worked
- No visible wasp activity around the entrance
- Wasps falling from the nest or ground nearby
- Reduced buzzing and movement around the area
When to Spray Again
- Continued wasp activity after 24 hours
- Large nests with multiple openings
- Underground nests where spray penetration is limited
Removing the Wasp Nest Safely
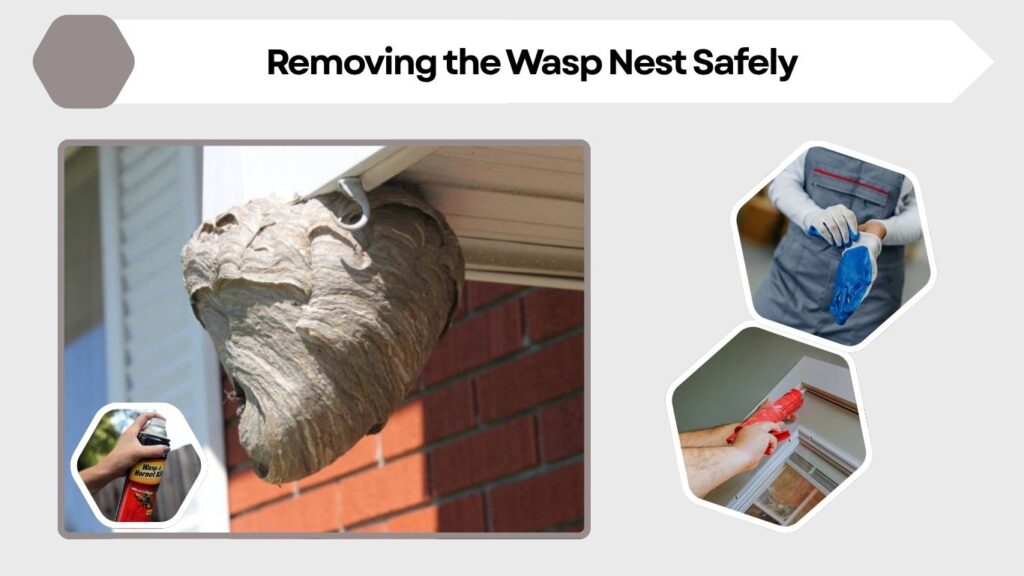
Once you are certain the colony is inactive, the nest can be removed. Leaving an abandoned nest attached to your home may attract other insects or create future nesting spots. Proper disposal also reduces the chance of accidental contact later.
How to Remove the Nest
- Wear gloves and long sleeves during removal
- Use a stick or scraper to detach the nest carefully
- Place the nest into a sealed garbage bag immediately
- Dispose of the bag in an outdoor trash container
Cleaning the Area
- Wash the surface with soap and water
- Remove remaining nest material
- Inspect for cracks or openings nearby
- Seal gaps to prevent future infestations
Common Mistakes to Avoid
Many people make dangerous mistakes when attempting DIY wasp nest removal. Avoiding these errors can prevent injuries, failed treatments, and repeated infestations. Careful planning and patience are essential for safe and effective wasp control around your property.
Spraying During the Day
- Wasps are highly active and aggressive
- More workers are outside the nest
- Increased chance of being chased or stung
Using the Wrong Products
- Household cleaners rarely work effectively
- Weak sprays may only irritate the colony
- Always use products labeled for wasps and hornets
Getting Too Close to the Nest
Standing near the nest increases the risk of multiple stings. Always use long-range sprays and maintain a safe escape route in case the colony becomes aggressive during treatment.
When to Call a Professional
Some wasp nests are too dangerous for homeowners to remove safely. Large nests, hidden colonies, or nests inside walls may require professional pest control services. Experts have specialized equipment and experience for handling aggressive species and difficult locations.
Situations That Require Professional Help
- Very large nests with heavy activity
- Nests inside walls or attics
- Underground yellowjacket colonies
- Allergies to wasp stings
Benefits of Professional Removal
- Safer treatment methods
- Proper protective equipment
- Reduced risk of re-infestation
- Complete nest elimination
Preventing Future Wasp Nests
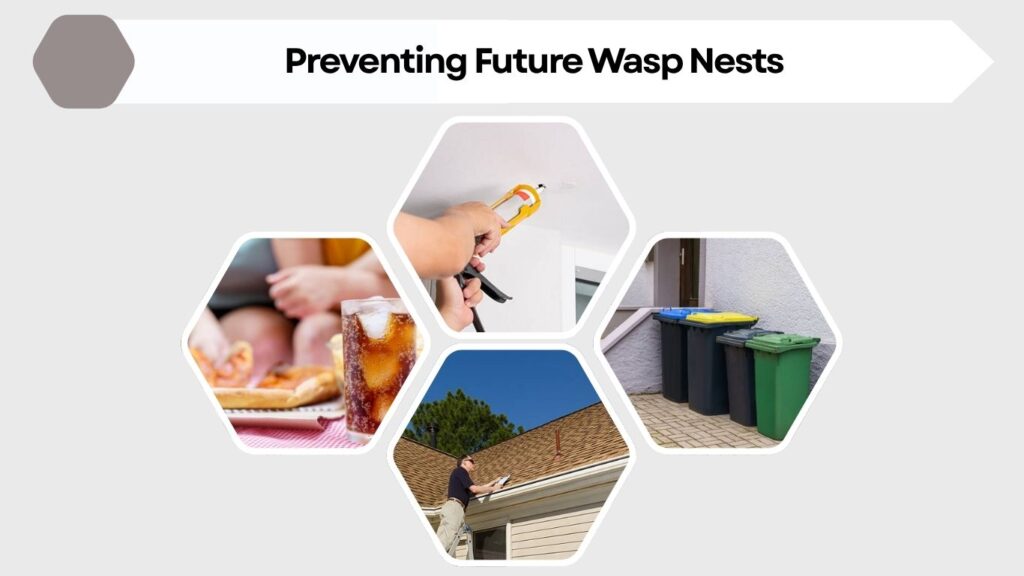
Preventive measures can reduce the chances of wasps building nests around your property again. Regular inspections and proper maintenance make your home less attractive to nesting colonies during spring and summer.
Prevention Tips
- Seal cracks and holes around the home
- Keep garbage bins tightly closed
- Remove outdoor food and sugary drinks quickly
- Inspect eaves, sheds, and decks regularly
- Remove small starter nests immediately
FAQs
What is the best time of day to spray a wasp nest?
The best time is early morning or late evening when temperatures are cooler and most wasps are inside the nest. Wasps are less active during these periods, making treatment safer and more effective.
Can I spray a wasp nest during the daytime?
Spraying during the day is not recommended because wasps are highly active and defensive. This increases the risk of aggressive swarming and painful stings.
How long should I wait before removing a sprayed nest?
Wait at least 24 to 48 hours after spraying to ensure all wasps are dead. Observe the nest carefully for any remaining activity before removal.
What spray works best for wasp nests?
Long-range aerosol sprays labeled for wasps and hornets are usually the most effective. Foaming sprays also work well for hard-to-reach or enclosed nests.
Should I call a professional for wasp nest removal?
Yes, professional help is recommended for large nests, underground colonies, or nests inside walls and attics. Professionals have protective equipment and specialized treatment methods for safer removal.