Spider mites are one of the most frustrating pests for indoor plant owners. They spread quickly, are hard to see, and can severely damage plants if left untreated. The good news is that with the right approach, you can eliminate them and protect your plants from future infestations.
What Causes Spider Mites on Indoor Plants
Spider mites thrive in specific conditions, which makes indoor environments ideal for them.
They prefer warm, dry air and are more likely to appear during winter months when heating systems reduce humidity. Poor air circulation and stressed plants also increase the risk of infestation.
New plants are another common source, as mites can hitchhike unnoticed into your home.
Signs You Have Spider Mites

Before treating, it’s important to confirm their presence. Spider mites are tiny, so you’ll often notice plant damage first.
Common signs:
- Small yellow or white speckles on leaves
- Fine webbing between leaves and stems
- Leaves turning yellow, dry, or falling off
- Tiny moving dots on the underside of leaves
If you see webbing, the infestation is usually already advanced.
Step 1: Isolate the Affected Plant

The first and most important step is to prevent the mites from spreading.
Move the infested plant away from all other plants immediately. Spider mites travel easily, especially in indoor environments where plants are close together.
If possible, inspect nearby plants carefully, even if they don’t show symptoms yet.
Step 2: Wash the Plant Thoroughly

Spider mites are weak against water pressure, making washing one of the most effective first treatments.
Take the plant to a sink, shower, or outdoor area and rinse it thoroughly.
Focus on:
- The underside of leaves
- Stems and leaf joints
- Dense or hidden areas
Use lukewarm water and a gentle but steady stream. This helps physically remove mites, eggs, and webbing.
Repeat this process every few days to reduce the population.
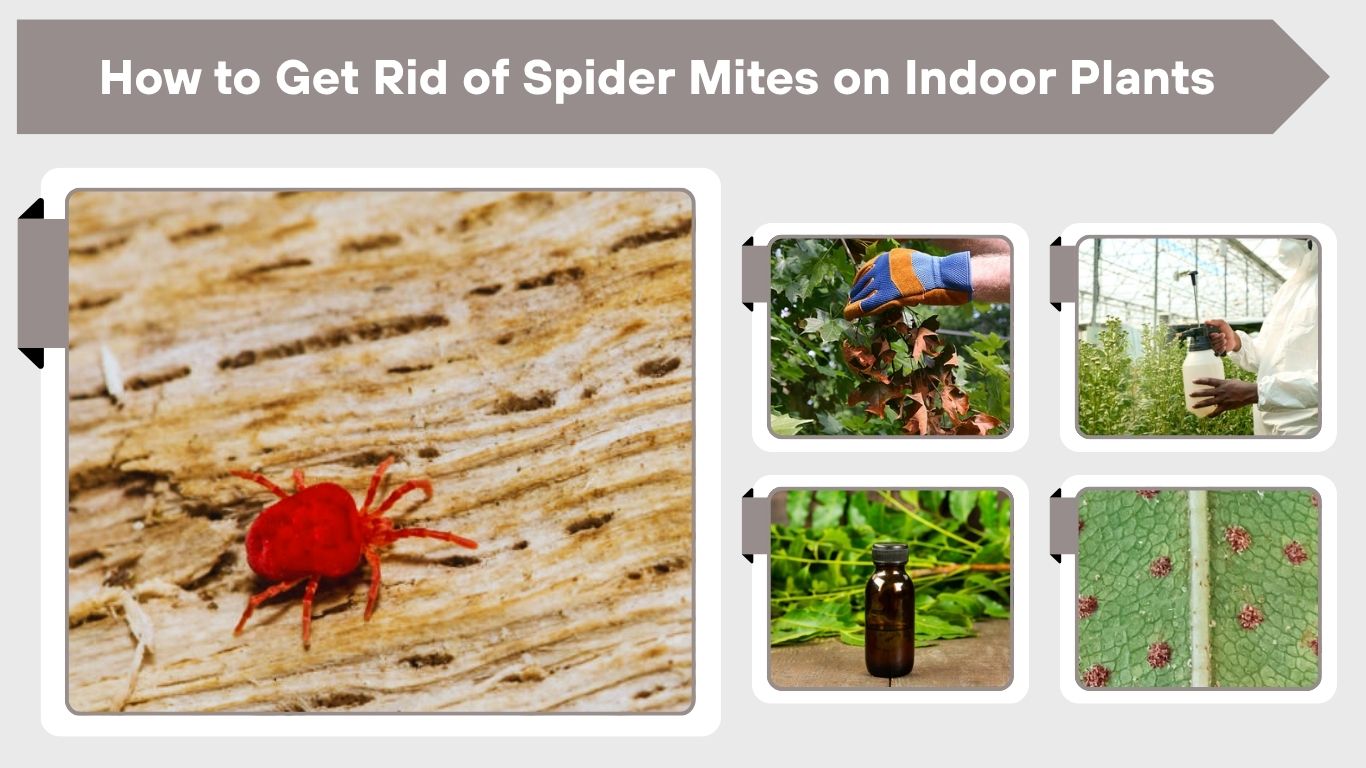
Step 3: Remove Heavily Infested Leaves

Pruning can significantly reduce the number of mites and prevent further spread.
Cut off leaves that are heavily damaged, covered in webbing, or beyond recovery. Always use clean scissors or pruning tools to avoid spreading pests or disease.
Dispose of the removed plant material immediately—do not leave it near other plants.
Step 4: Use Natural Treatments

After washing and pruning, you’ll need to treat the plant to kill remaining mites and eggs.
Effective natural options:
- Neem oil solution
- Insecticidal soap
- Mild dish soap mixed with water (as a temporary solution)
- Alcohol diluted with water (for spot treatment)
Spray the entire plant, especially the undersides of leaves. Repeat treatment every 5–7 days to break the life cycle.
Consistency is key, as spider mite eggs can survive initial treatments.
Step 5: Increase Humidity
Spider mites hate humidity, so adjusting your indoor environment can slow or stop their spread.
Ways to raise humidity:
- Use a humidifier
- Place a tray of water near plants
- Group plants together
- Mist plants lightly (if suitable for the species)
Higher humidity makes conditions less favorable for mites and helps prevent reinfestation.
Step 6: Improve Air Circulation
Still air allows spider mites to thrive. Improving airflow can help control their population.
Open windows when possible or use a small fan to keep air moving around your plants. Good ventilation reduces the dry conditions that mites prefer.
Step 7: Use Chemical Treatments (If Necessary)

If the infestation is severe and natural methods are not working, you may need stronger solutions.
Look for miticides or insecticides specifically labeled for spider mites. Always follow the instructions carefully and use them in well-ventilated areas.
Avoid overuse, as spider mites can develop resistance to certain chemicals.
How Long Does It Take to Get Rid of Spider Mites
Eliminating spider mites is not a one-time process. Because of their rapid life cycle, it may take several weeks of consistent treatment.
You should continue treatment even after signs disappear to ensure all eggs and hidden mites are gone.
How to Prevent Spider Mites on Indoor Plants

Prevention is much easier than dealing with an infestation.
Simple prevention tips:
- Inspect new plants before bringing them indoors
- Keep humidity levels moderate
- Clean leaves regularly to remove dust
- Check plants frequently for early signs
- Avoid placing plants too close together
Healthy plants are less likely to be affected, so proper care is essential.
Common Mistakes to Avoid
Many people struggle to eliminate spider mites because of simple mistakes.
Skipping repeat treatments is one of the biggest issues, as eggs can hatch after initial spraying. Another mistake is only treating visible areas and ignoring the underside of leaves, where mites usually live.
Overwatering or using excessive chemicals can also harm the plant without solving the problem.
Conclusion
Spider mites may be tiny, but they can cause serious damage to indoor plants if not addressed quickly. The most effective approach combines isolation, washing, consistent treatment, and environmental adjustments like increased humidity.
With patience and regular care, you can completely eliminate spider mites and keep your indoor plants healthy and thriving.